Save and Pay Off Debt: How I Paid Off $12,000 in 6 Months
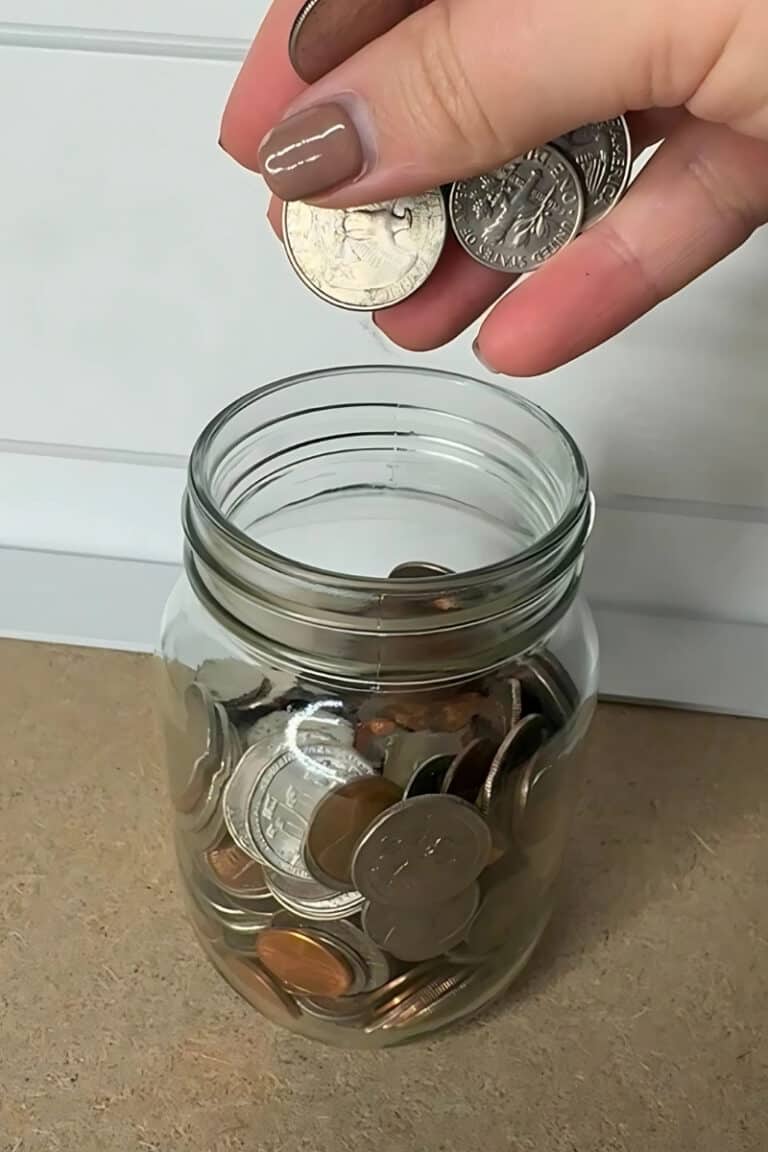
If you’re ready to save and pay off debt, the first thing you need to do is commit to a money saving plan. In this post, you’ll learn how I used the 10-step strategy for building a money saving plan to pay off my $12,000 debt in only 6 months.

This site contains affiliate links, view the disclaimer for more information.
Welcome to part 5 of 10 in my personal finance blog series, where we dive into how a money saving plan can be your key to successfully transitioning from debt to savings. If you’re just joining us, be sure to check out the first post for a deeper dive into why a money saving plan is so crucial. It’ll lay the foundation for everything we’re discussing moving forward.
Alright, now if you remember in Part 3 of this series, I walked you through the 10 steps to building a solid money-saving plan. Having this plan in place is what ultimately gets you out of debt and on your way to financial freedom.
But knowing the steps is one thing—actually seeing them in action is another. In this post, I’m showing you exactly how I used each one to save and pay off debt– $12,000 to be exact–in just 6 months.
This strategy has allowed me to remain debt-free to this day. And the best part? These steps aren’t just for me—they can work for you too. Let’s dive in.
Don’t forget to pin this!
Make sure to pin this image here and save it to your Pinterest board. That way you can easily come back to this page for 10 steps you can take to save money and pay off debt.
How I Paid Off $12,000 in 6 Months Using A Money Saving Plan
To set the scene, let me take you back to my early 20s. I had just moved to a new city, settled into my apartment, and everything was going great—until my car broke down within the first month. (Ha, go figure!)
I needed reliable transportation to get to work and afford rent, so I had no choice but to buy a car. In the past, I’d always gone for the cheapest option just to get by—at that point, I’d already been through five different cars. This time, I wanted something newer that would actually last me more than a couple of years.
But the problem? Those cars weren’t a couple of thousand dollars—they were tens of thousands of dollars. That was my wake-up call—I needed a plan.
That’s when I turned to the 10-step money-saving strategy I shared in Part 3 of this series. Let’s start with step 1.
Step 1: Assess Your Current Financial Situation
Before even thinking about taking on a car loan, I had to take a close look at my finances. I needed to figure out how much I could reasonably afford to pay each month—and how long I was willing to have this debt on my plate.
At the time, I was lucky enough to be working during peak event season, which meant really good tips were rolling in. I realized that if I saved 100% of my tips and cut back on expenses, I could afford to put up to $2,000 per month toward my car loan.
Of course, that wasn’t going to come easy though. I loved my daily coffee runs and eating out, but if I wanted to get out of debt fast, I needed to be realistic and cut some things out. Short-term sacrifices for long-term freedom—that was the mindset shift I had to make.
Step 2: Identify Areas for Improvement
When I looked back at my spending habits over the last six months, one thing was obvious—I was overspending on things I wanted, but didn’t actually need. If I was serious about paying off my debt (and fast), I had to make some changes.
So, I set some clear spending rules for myself:
- Daily Starbucks shop runs? Nope—I started making tea and coffee at home, with at most 1 Starbucks run per week.
- Dining out? Cut down to twice a week instead of whenever I felt like it.
- One casual meal (up to $15 before tip)
- One “upscale” meal (which, for me, just means sushi—up to $40 before tip)
- Shopping for clothes, accessories, and beauty products? Limited to once a month, max—no more impulse buys (I have to admit, this one was probably the hardest…).
Of course, these changes weren’t forever. In the back of my mind, I reminded myself: Once I paid off my debt, all the money I saved could be redirected toward bigger goals—like buying a home, building my emergency fund and stacking up my retirement savings.
Step 3: Set Savings Goals and Prioritize
using smart goals
I used the SMART goals method to establish a clear savings goal that I could incorporate in my budget and track to. Here’s a breakdown:
- S – Specific: Pay off $12,000 in debt to become debt-free and start saving for other goals.
- M – Measurable: Pay off approximately $2,000/month to meet my goal in 6 months.
- A – Achievable: I calculated my income, reduced unnecessary expenses, saved 100% of my tip money, and looked for extra income opportunities (like selling aluminum cans and selling old clothes!). I also automated payments to make sure I stuck to my plan without stressing.
- R – Relevant: Being debt-free would give me financial freedom and peace of mind—plus, it would make it way easier to start saving for the future.
- T – Time-bound: I set my deadline—July, exactly six months from the start.
From that, my goal became:
“I will pay off $12,000 in debt by making $2,000 monthly payments for 6 months, cutting expenses, and saving 100% of my tip money, so I can be debt-free by July.”
Prioritizing My Savings Goals
Once I had my plan, I had to decide where my money would go. Paying off the $12,000 debt came first. My emergency fund was next in line, followed by my retirement savings.
Since I was committing to such a short, aggressive savings window (6-months), I was okay with putting less into my emergency and retirement funds during that time. Once I was debt-free, I could shift my focus to building those up.
Step 4: Create a Realistic Budget
Next, I built a budget that I could actually stick to. First, I made sure all essential bills were covered, then I set aside a small amount for unexpected expenses. The bulk of my income went straight toward paying off my debt, but I also made sure to put a little toward my fund and retirement (it honestly wasn’t much, but it was something). The key here was staying disciplined and ensuring the budget was sustainable for me—no fun spending for now, but the long-term payoff would be worth it.
Find Smart Tools to Budget Better, Save More, and Work From Anywhere
Ready to make life (and money management) a little easier? Check out my favorite tools, books, and essentials for budgeting smarter, building real savings, organizing your home office, and thriving in remote work—so you can create the flexible lifestyle you’re working toward.
Step 5: Pay Off High-Interest Debt First
When I was in college, most of my money was going toward four main things: school loans, my car loan, rent/utilities, and credit card bills. The one thing I always focused on was paying off the high-interest debt first.
By tackling the high-interest loans first, I was able to minimize the amount of interest I paid over time and get to the principal faster. Honestly, it was also way more motivating. Paying off one loan at a time felt like progress I could really see—and I was watching my number of loans shrink. I could literally see the light at the end of the tunnel!
Step 6: Build an Emergency Fund
Even while I was focusing on paying off my car loan, I made sure to build up my emergency fund. I started by setting aside at least $50-$100 each month. It wasn’t much, but it was enough to cover unexpected costs—like doctor visits—without completely derailing my debt payoff plan.
I knew that once the six months were up, I’d be able to save more, but I had to be flexible based on my financial situation and priorities. The key here was to never stop saving toward my emergency fund. If anything, I just adjusted how much I could save depending on where I was at.
Step 7: Automate Savings and Payments
Automation was an absolute game-changer for me. I set up automatic payments for both my bills and savings, which allowed me to stay focused on my saving goal without stressing about missing anything.
This also helped me avoid spending money I didn’t have, because all my necessary expenses were automatically taken care of before I even thought about putting anything toward savings or fun purchases.
Step 8: Organize Your Finances
Organizing your finances from the start is one of the easiest ways to simplify everything. These methods saved me so much time and stress—back then AND now! With that, I want to take some more time on this step.
Budgeting planners
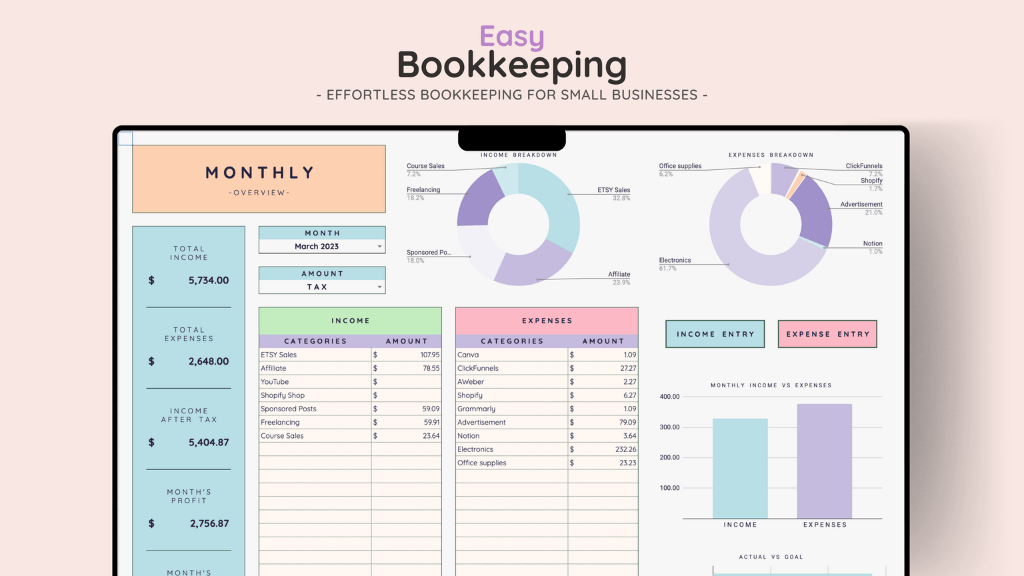
I absolutely love a digital budgeting planner that lets me manage both my personal and business finances in one place. The best part? It does all the math for me—calculating income, expenses, and even making tax season easier. I personally recommend this color-coded digital budgeting planner because it’s not only aesthetically pleasing (yes, that matters), but it’s also super user-friendly and has never given me any issues with formulas or functionality.
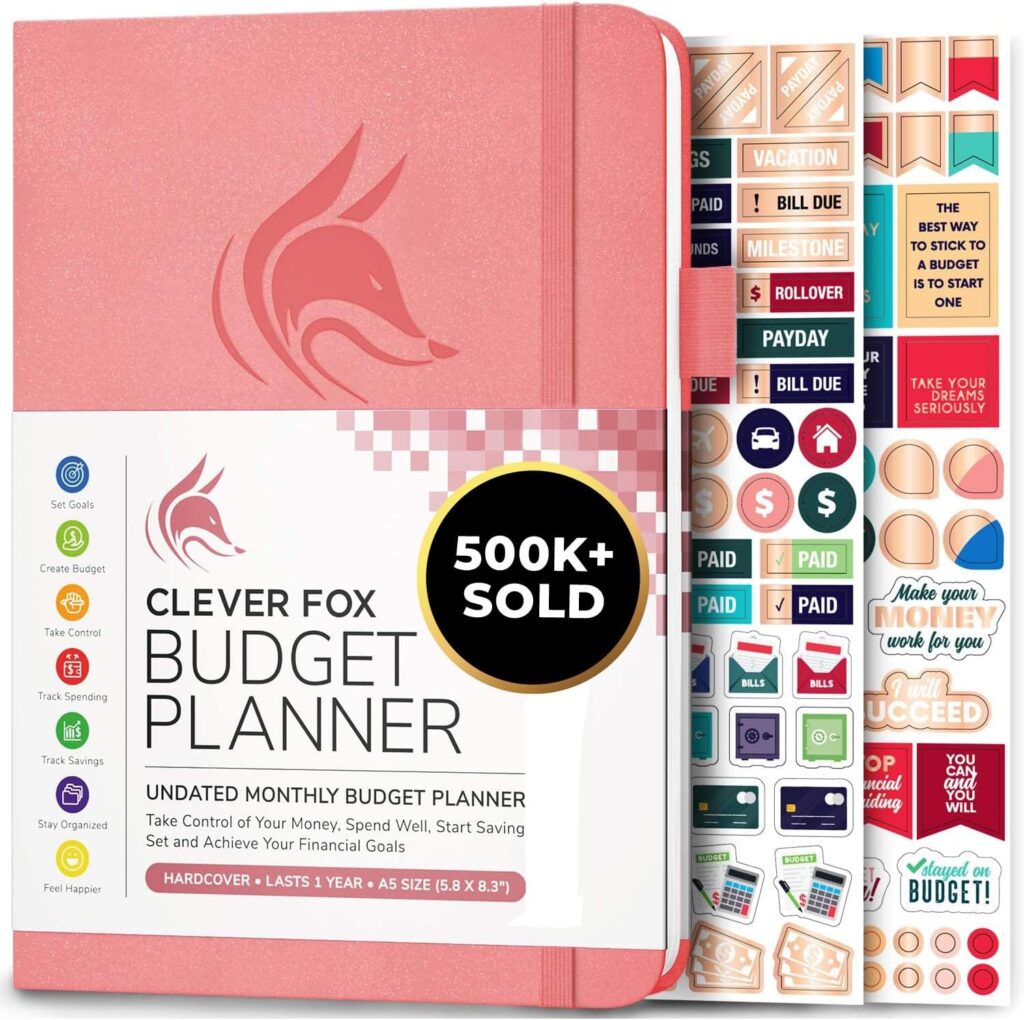
That said, I’m going to be fully transparent with you. While digital tools are great, I don’t think I’ll ever fully ditch pen and paper. Sometimes, I just need something tangible! When I was just getting started with budgeting, I used a handheld budgeting planner like this one to jot down all my goals, outline my month’s budget, and set mental reminders to help me stay on track (like, “Allie! Don’t even think about buying that thing today!). Even now, I still use physical notebooks for personal finance check-ins and reflections.
File Organizers
What would I do without organizers! One of my all time favorites is the accordion-style file organizer with A-Z labels. It’s portable, easy to store, and keeps all my important documents in one place. If you already have a desk drawer, hanging file folders are a great alternative to keep your files organized and easily accessible.
Pro tip: I don’t just use these for finances! I also organize birthday cards, personal health records, my pet’s medical and adoption paperwork, programs from plays and musicals, and even old photos. Basically, anything I want to keep in good condition and actually be able to find later.
Personal Finance Apps
My favorite app? The Every Dollar app by Dave Ramsey. Not only do I love his methods, but the app makes it so easy to create and track your budget every month. You can even copy your budget from one month to the next and make quick tweaks when you know you’ll be doing extra spending (think birthdays, anniversaries or Christmas). Best of all, the app will alert you if you’re over budget or overspending in any category—so you know exactly when to cut back. I think I’ve used this app for 10 years now and I haven’t looked back.
Step 9: Track Your Progress
I tracked my progress religiously to make sure I stayed on track. This way there was no guessing or hoping I was making progress—I could clearly see how I was doing every month. Sure, there were moments I slipped up—eating out when I said I wouldn’t or not meeting my tip-income expectations liked I had hoped—but when I had good months, I put extra money toward my debt. Even if it was just an extra $25 or $50, each little bit adds up!
Step 10: Reassess Your Budget Regularly
This goes hand in hand with the previous step, but like I mentioned—there were moments I went over budget. By reviewing my spending habits each month, I had the opportunity to reassess my budget. I learned that I didn’t spend quite as much money on personal items like I did for food, so I decided to move some money in my planned budget accordingly. This way my actual budget aligned better with what I planned at the start of the month.
This step also came in hand during months when spend was higher due to holidays like birthdays and anniversaries. I knew in these months that I’d be buying gifts or going out more, so I made sure to make up for the higher spend months, by saving more during lower spend months. This kept my budget balanced and flexible, making it easier to stay on track long-term.
BONUS Step 11: Create a Vision Board
Here’s a bonus for those who made it this far! Step 11 isn’t required, but if you ask me—someone who thrives on visuals—a vision board is one of the best ways to stay motivated. I firmly believe that when you see, speak, think, and feel (aka manifest) the life you want, you set yourself up to make it happen.
A vision board helps you visualize your goals, making them feel more tangible. When you constantly see yourself in that future—whether it’s being debt-free, owning a home, or reaching another big milestone—it becomes part of your mindset. And when your mindset shifts, your actions follow.
Not to mention, they’re actually pretty fun to make! If you’ve never done one before, you can grab a vision board supply kit with over 800 images to choose from—so you don’t have to spend hours (or use up all your ink) printing them yourself. You can glue them onto a board or, my personal favorite, use thumbtacks so you can easily move and swap out images throughout the year as your vision evolves. I love revisiting mine every so often to keep it fresh and aligned with my goals. So if you wake up one day and decide you want to travel to Japan—go ahead and pin up an image of Japan. Keep it top of mind and make it happen!

At the end of 6 months, I hit my target—I paid off my car loan and I was debt-free! It felt like such a long road at times, but looking back, the 6 months of sacrifice was absolutely worth it. Now, I’m not only debt-free, but I’m also consistently saving for my future goals—like buying a home.
Summary
This 10-step guide to building a solid money-saving plan set me up for long-term financial success, and I know it can do the same for you! By following these steps, I not only became debt-free but also built lasting habits to stay on track with my finances. I hope this post has inspired you to take action and start creating your own money-saving plan. It might feel intimidating at first, but trust me—it’s one of the most rewarding things you can do!
Next up in the blog series
In Part 6, you’ll learn the best strategies for tracking your financial progress and staying accountable. Click to read now!
We Want to Hear From You!
Which step are you excited to dive into the most? Or, which steps have helped you the most to achieve your financial goals? Drop a comment down below and let us know.
