6 Easy Steps to Create a DIY Vision Board at Home
Creating a DIY vision board at home is one of the simplest (and most fun) ways to get clear on your goals and actually see the life you’re working toward. If you’ve ever felt stuck, unmotivated, or unsure what you’re even working toward anymore—this is for you.
In this post, I’m walking you through what a vision board is, what to put on a vision board, and how to do a vision board step by step, even if you’ve never made one before. Whether you want something super simple or a little more aesthetic, this guide will help you confidently make a vision board that feels aligned with your life and goals.

This site contains affiliate links. These help fund my blog site at no extra cost to you. View the disclaimer for more information.
What Is a Vision Board?
Think of a vision board as a visual collage that represents the life you want to live. It’s filled with images, words, and quotes that reflect your goals—things like travel, career, finances, faith, health, relationships, or personal growth.A vision board is something you come back to daily to visualize your goals actually happening. When you can physically see what you’re working toward, it becomes easier to align your daily actions with those goals. And let’s be honest—it’s incredibly easy to lose sight of what you want once life gets busy. A DIY vision board acts as both motivation and a reminder of what you’re working towards.
Vision Board Examples
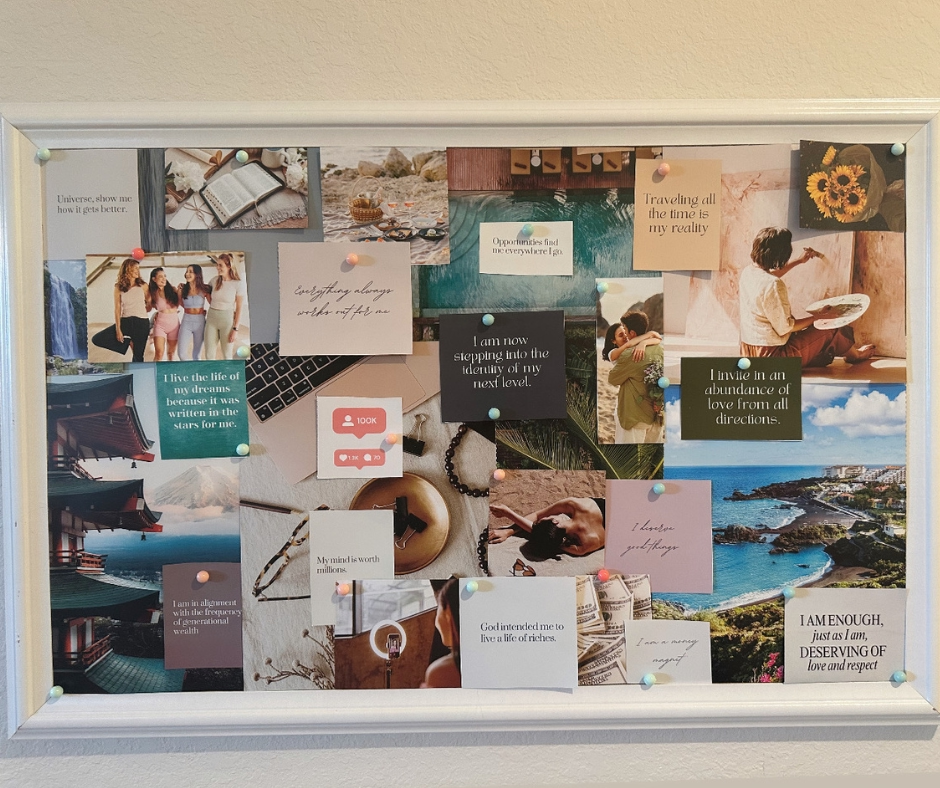
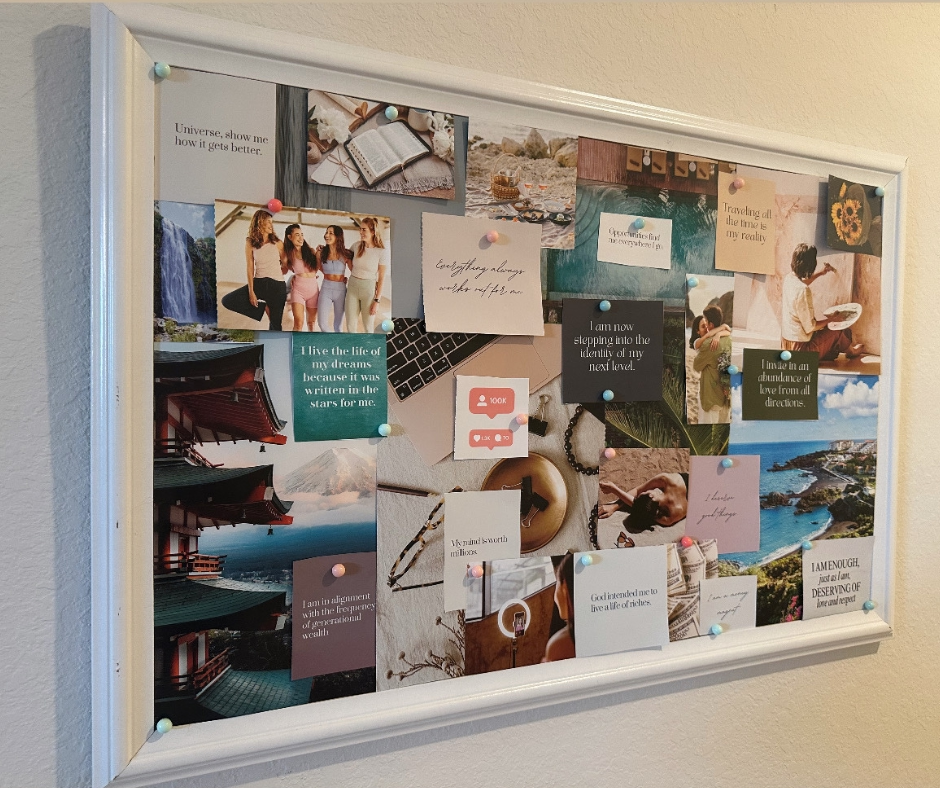
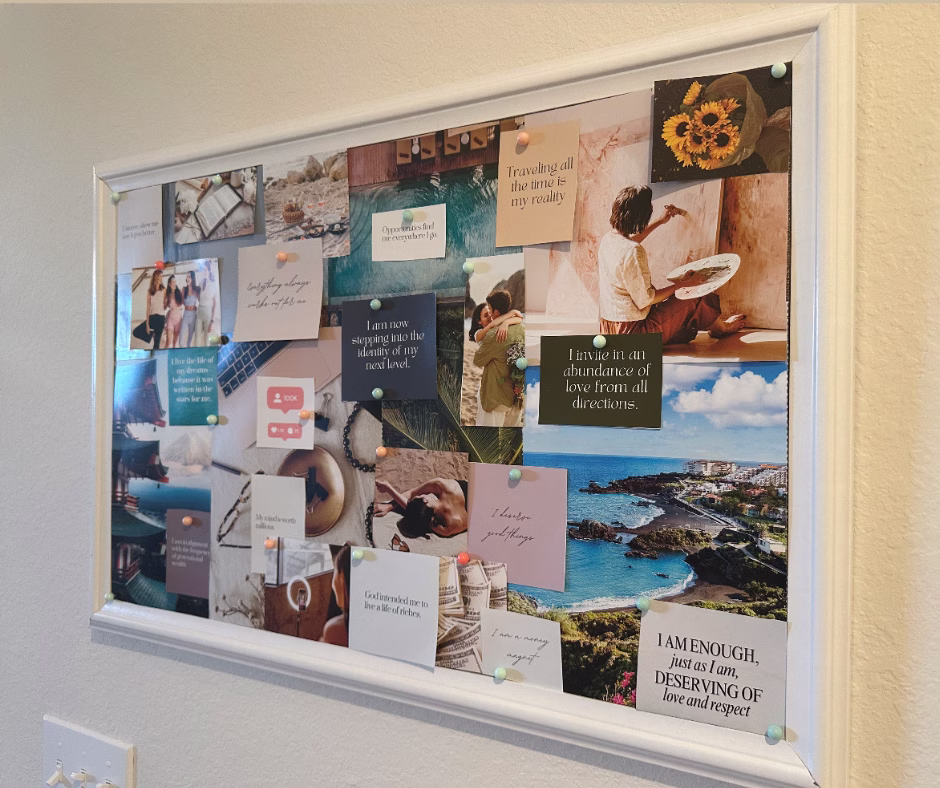
Here is my vision board for this year:
And here are a couple other vision board examples I’ve seen online to give you inspiration:
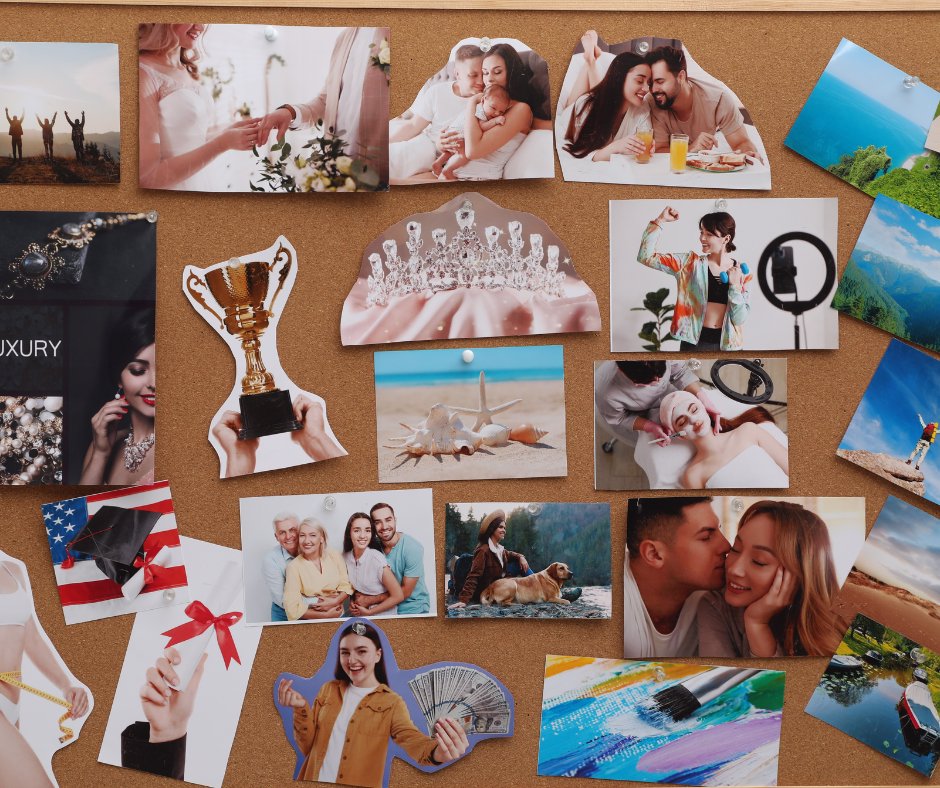
Tip: Notice how different they all look. There is no “right” way to do this—your board should reflect you.
What Do I Put on a Vision Board?
If you’re wondering what to put on a vision board, start simple.
I recommend choosing 3–5 main goals and centering your board around those. These goals can relate to anything in your life. For example, my top three goals are to:
- Travel more
- Grow my side hustle
- Improve my abundance mindset
On my DIY vision board, you’ll see a lot of imagery around travel, career growth, and quotes that reflect an abundant and positive mindset. Surrounding those core goals, I also included things I want more of this year—like painting, going to the beach, and spending more time reading my Bible.
Take some time to reflect on your own life and choose goals that genuinely excite you. Your vision board should feel inspiring, not overwhelming.
Setting the Tone Before You Create Your Vision Board
Before we jump into the actual step-by-step, there are a few important things I want you to know about creating a vision board—especially if this is your first time.
When it comes to making a vision board, there are no rules. It can be completely personalized and tailored to YOU. It can be big or small, colorful or minimal, aesthetic or messy—literally whatever feels right to you. There is no “right” way to do this, and you don’t need to overthink it.
I’m going to walk you through the exact steps I took to create my 2026 vision board, but I also want to share some simple alternatives you can try at home. And I really want to emphasize this upfront: you do not need to buy anything to make a vision board.
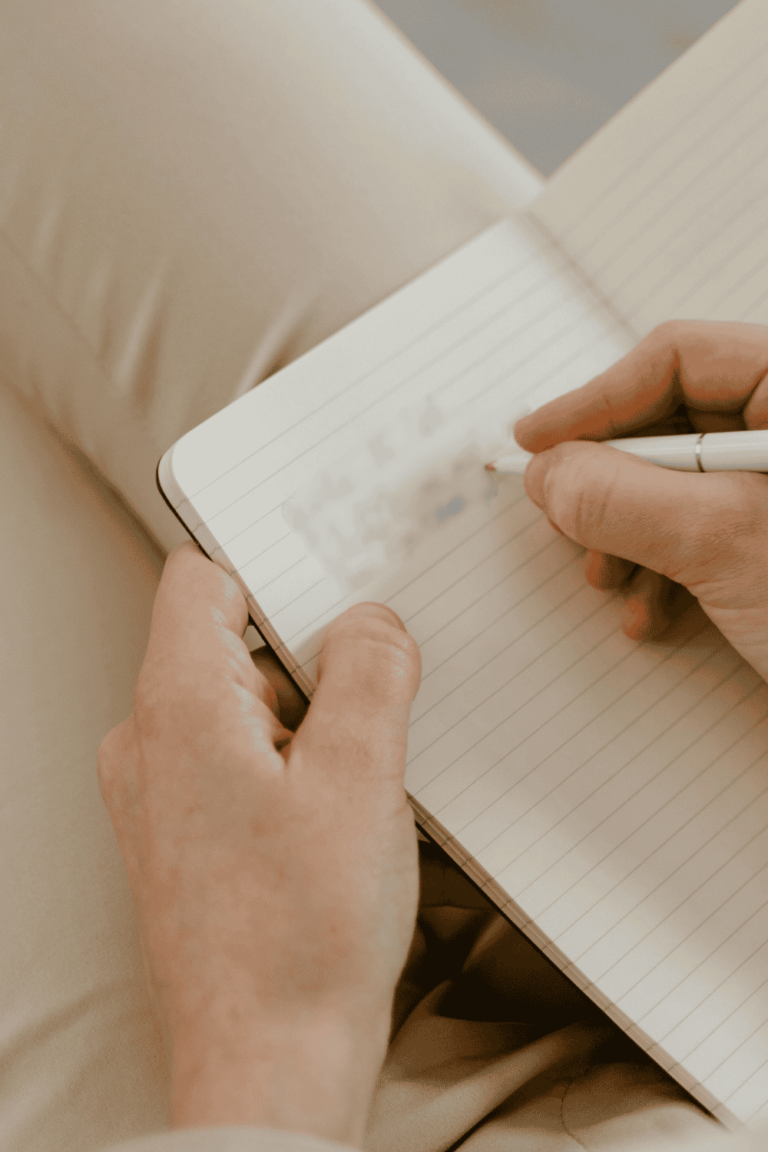
When I first started, I kept things extremely simple. I grabbed a blank piece of copy paper and a marker, wrote out a short list of the 5–10 things I wanted to achieve that year, added a few doodles around it, and stuck it on my fridge. That piece of paper stayed there all year long—and you know what? It wasn’t fancy at all, but it WORKED.
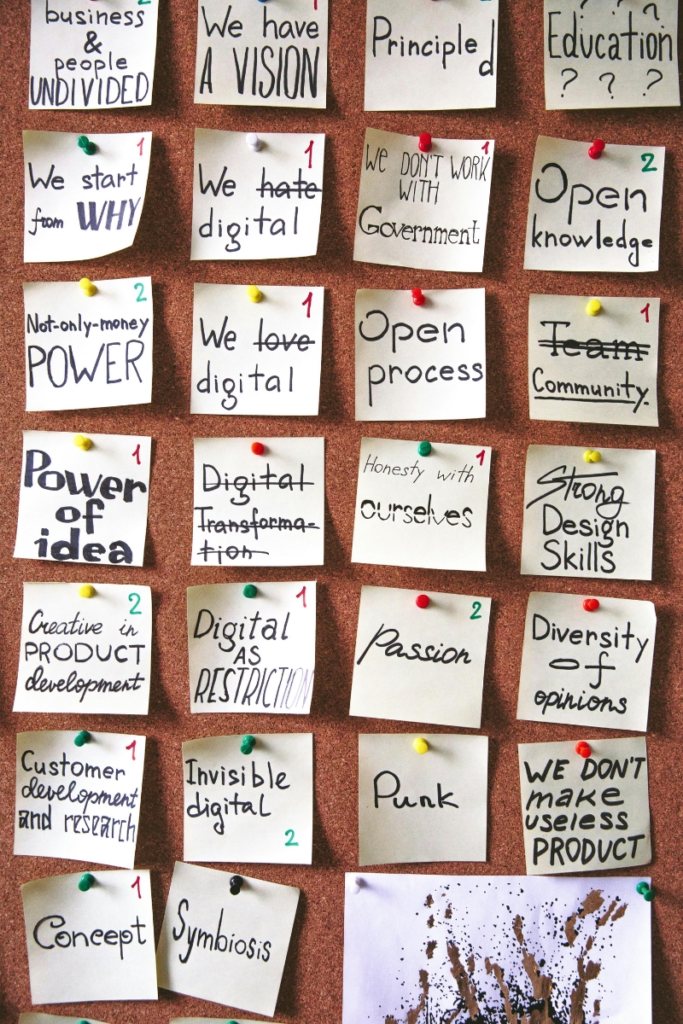
I’ve also seen people keep it just as simple by creating a collage of photos from Instagram or Pinterest, printing it out, and hanging it on their fridge or wall. You could use notebook paper, printer paper, or even create something that’s mostly text-based with just a few words or phrases that really resonate with you (like the example we saw earlier on).
Again, your vision board can be whatever you want it to be—as simple or as extra as you want. If you ask me, the most important thing you can do is just make one and start. Watch how much it shifts your mindset and your focus. And over time, if you decide you want to level it up a little bit, go for it. That’s exactly what I did this year.
Now that you know what to expect, let’s get into the exact supplies and steps to create your DIY vision board.
Vision Board Supplies You’ll Need
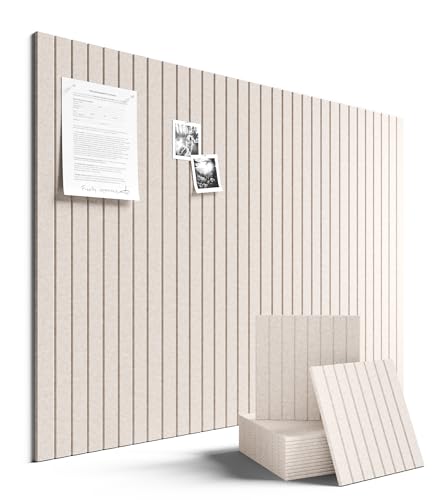
- Poster board or bulletin board. Personally, I used a bulletin board like this one because I prefer something that lasts longer and can be reused or repurposed over the years.
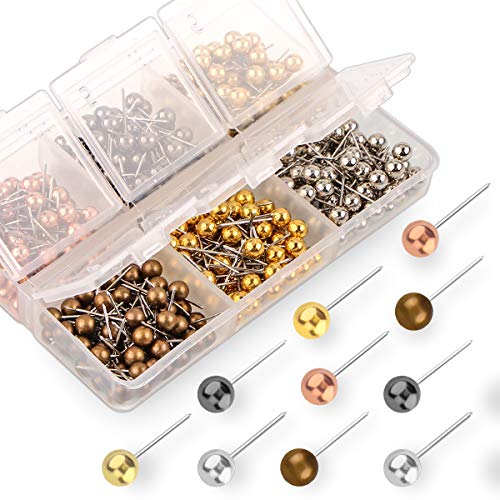
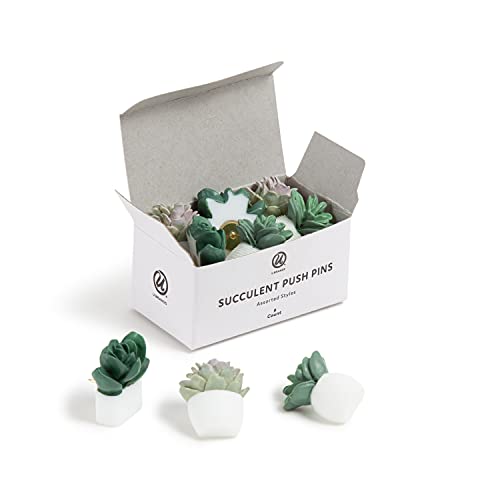
- Glue, Adhesive, or Push Pins. If using poster board, you’ll need some form of poster board glue or poster board adhesive. If using a bulletin board, you’ll need push pins. I really like push pins like these ones because I find the rounded/sphere shape doesn’t hurt my thumbs as much. There are also cute ones like these (I have these in my office, LOVE!) that can make your vision board more cute and aesthetic.
- Scissors. Any pair around the house will do, but if you want the scrapbook vibe (makes things more fun!),I recommend grabbing these.
- Images. The most important part, you need images. There are many ways you can source the images. For example:
- I wanted something super easy and quick, so I bought this vision board book which comes with over 1,000 images to choose from. It took barely any time to pick images from because they were all sooo pretty and aligned perfectly to both my goals and aesthetic. I highly recommend getting this one! Just be careful when tearing out the pages so you don’t rip the image itself (or use scissors to cut along the edge).
- You can also use old magazines to cut images out of.
- Or, you can browse and print images from the internet – there are many free stock images available on sites such as Pexels or Unsplash.


How to Make a Vision Board: 6 Simple Steps
Okay, now the fun part!!! Here are 6 simple steps to create your vision board.
Step 1: Reflect and write things down
Take some time to reflect on what you want your vision board to represent and write it down first. I recommend choosing anywhere between 3–10 things you want to visualize. Knowing what you want to see on your vision board—and what your goals are for the year—will make everything else much easier.
You can decide if you want your entire board to have one main theme (like spiritually centered, travel centered, or career centered), or if you want a mix of different areas of your life. For me, I like variety, but I still have 3 core goals that I center my board around because those are the things I really want to see come to life this year.
Step 2: Decide where your board will live
Next, decide where you want to put your vision board and whether it will hang vertically or horizontally. This matters more than you think because it affects how many images you choose and how you lay everything out.
When choosing the location, I highly recommend putting your board somewhere you can look at every single day. The more often you see it, the more effective it will be.
Step 3: Pick your images and visuals
Now it’s time to start picking out the images or visuals you want to use. These can be pictures of quotes, people, places, things—whatever feels aligned with what you want to see more of in your life.
I personally browsed through my entire vision board book first before moving on, just so I knew what my options were. This also helped me start imagining what my board might look like and think about things like colors (did I want neutral tones, brighter colors, etc.).
Step 4: Cut and loosely organize everything
Once you’ve picked your images, start cutting them out. I recommend loosely separating them so things feel less overwhelming when you move to the next step.
For me, that meant separating page-sized images, smaller images, and quotes. Nothing fancy—just enough to help organize my thoughts and make the process feel smoother.
Step 5: Lay it all out before attaching
Based on what you decided in step two, place your images on your board where you think you want them to go. Make sure your board is positioned the right way (horizontal or vertical) before you start arranging.
Important: do not glue or pin anything yet. This step is just about seeing how everything fits together. Play around with the layout, move things around, and don’t be afraid to remove images if it starts to feel cluttered.
It took me about 3–4 different layouts before I landed on one I really loved. I also ended up removing a couple of images because my board started to feel overwhelming instead of calming—and that kind of defeats the purpose.
Step 6: Make it real
Once you’re happy with the layout, go ahead and glue or pin everything down.
That’s it, you’re done! Now it’s time to hang up your vision board.
How to Use Your Vision Board Effectively
You’ve done all the work—now it’s time to actually use your vision board.
I recommend making it part of your daily routine to look at your board and really visualize yourself living out the life you’ve put on it. Ask yourself questions like: What actions can I take today that align with these goals? What would this version of me be thinking, feeling, speaking, and doing?
I want you to practice showing up as the person who already walks the life on your vision board.
If you included quotes or affirmations, read them out loud to yourself every day. Say them 2–3 times. The more you repeat them, the more you start to believe them—and feel them.
The crazy thing most people don’t realize is that your brain doesn’t know the difference between what’s real and what you’ve imagined. So by visualizing your goals every single day and imagining yourself already living that life, you’re training your brain to believe it’s possible.
And by the end of the year? There’s no telling how much could change.
Vision Board FAQs
How Often Should I Update My Vision Board?
Personally, I recreate my DIY vision board on an annual basis. I like starting fresh each year and using it as a reset for new goals and intentions.
That said, if there are significant changes in your life—where your current vision board no longer resonates with you or your goals have shifted—you can absolutely update it. Your vision board should evolve with you. There’s no rule that says once you make a vision board, it has to stay the same forever.
Can I Make a Vision Board Mid-Year?
Yes, absolutely! You can make a vision board at any point in time.
If you’re reading this in the middle of the year, that’s completely okay. It is always better to start your vision board today than to not start at all or delay your vision for the “right time” (like New Year’s, a Monday, or the first of the month). None of that is necessary.
If you’re wondering how to do a vision board mid-year, the answer is simple: the exact same way you would at the beginning of the year. Start where you are, with what you want now.
Should My Vision Board Be Realistic or Aspirational?
I really want to pause here and emphasize this: even if your goal or vision feels “crazy,” put it on your board anyway.
Do not put yourself in a box or let others—or even yourself—convince you that your vision isn’t realistic just because it’s not common where you live or among the people around you. Every single person who is currently living your dream once stood exactly where you are now, with hopes, goals, and aspirations of their own.
So if you ask me, put your biggest, wildest dreams on your DIY vision board. Align your actions with those aspirations and keep them top of mind every single day. That’s the real power behind understanding what is a vision board and what to put on a vision board.
This doesn’t mean things magically happen just because they’re on your board—and achieving your goals may take longer than a year. The purpose is to help you think differently, speak differently, and show up differently. After all, in order to achieve different, you have to do different.
You’ve got this. No dream is too big. (Unless you’re 5’5” and want to be 6’5”… sorry, I don’t know what to tell you there. Talk to God. 😂)
Do Vision Boards Actually Work?
Speaking from personal experience, yes — I absolutely believe vision boards work.
But for my friends who need stats and research: according to a Forbes article, “one in five successful entrepreneurs use vision boards” and “82% of these small business owners found that they have accomplished over half of their business goals since they began.” (Travers, M., “A Psychologist Explains The Power Of ‘Vision Boarding’ For Success”)
You can read their article to hear more from a psychologist on the matter, but here’s what I can tell you:
When my goals are written down or placed somewhere I can read every day — like on my DIY vision board — I’m reminded every single day of what fuels me and what I want out of life. That reminder becomes so important after a few months go by and suddenly life gets busy, or I get distracted by the world. Seeing my vision board helps me realign my actions with my goals.
Now, if you’re sitting there thinking, “Is a vision board on its own REALLY enough to make all my dreams come true?” — I would tell you not neccesarily. There is definitely more you can and should be doing to make your vision a reality.
If you want your vision board to be even more effective, I highly recommend pairing it with an action plan. Revisit the 3–5 core goals you chose when you were deciding what to put on your vision board. Then write down steps you can take every day/week/month to push you forward in the direction you want to go.
This way, you can ask yourself over time, “Did I take a step forward today? Was I intentional?” Tracking these small steps will help increase your chances of achieving your goals.
Think of your DIY vision board like the foundation, and your action plan like the stepping stones.
Can I Have More Than One Vision Board?
Yes—absolutely!
For example, if you have big goals in different areas of your life, you might choose to create a personal DIY vision board that lives in your room and a career-focused board that stays in your workspace.
Whether you’re using different vision board supplies, themes, or layouts, remember this: vision boards are all about you. Do what makes you happy. Do what keeps the fire lit inside of you and helps you keep moving forward toward your goals.
Final Thoughts
Creating a DIY vision board is one of the easiest ways to reconnect with your goals and start showing up differently in your everyday life. The best part? Anyone can do it! You don’t need any super fancy supplies or to be a professional artist to do this.
If this is your first time making a vision board, I’d love to know. Drop a comment below and tell me about your experience—or share what’s currently on your board. And if you’ve made one before, let me know what’s come true for you.
If you want to learn more about goal-setting and goal-tracking, check out these related posts:
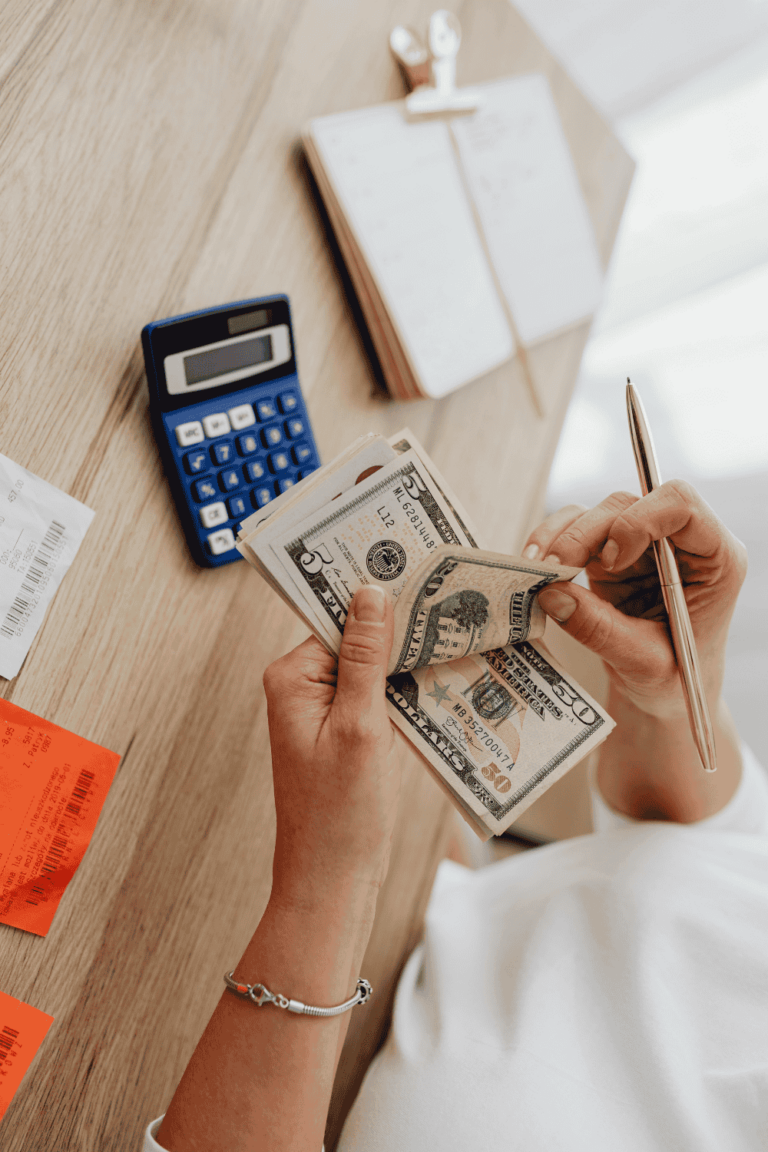
- 13 Realistic Personal Finance Goals to Crush Your Savings
- Track Finances Like a Pro: 11 Tips to Stay Accountable & Motivated